
Air Intake Systems


About Air Intake Systems
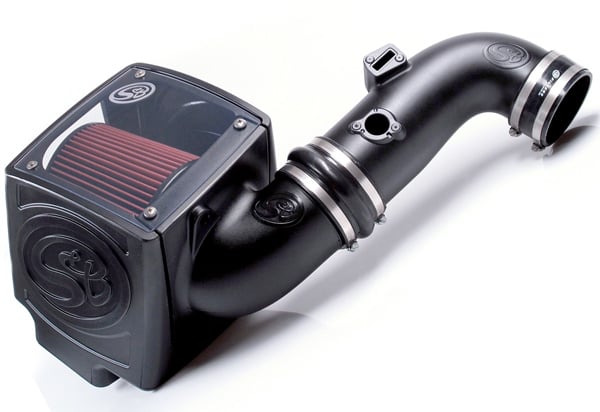
Bolt on a performance air intake and transform an ordinary engine into an extraordinary one. More cool oxygen in your engine means drastically improved combustion - and that means serious across-the-board power gains! When you shop with us, you can take your pick from the best brands of cold air, ram air, and short ram air intakes on the market today.
Give your engine the performance-enhancing oxygen it craves with performance Air Intake Systems. Auto Accessories Garage offers several brands and styles of intakes, allowing you to find the perfect system to replace your inefficient, low-flow stock intake.
Do you put a lot of demands on your truck? A performance Ford F150 Air Intake offers your engine power and efficiency it could only dream of with a restrictive stock intake. Or do you like tearing up the streets in your import? Then take your pick from a wide selection of Honda Accord Air Intakes that feed your engine with cooler air from outside the hot engine bay. Cooler air has a higher density than hot air, so more oxygen comes through the intake. More oxygen means more combustion in your engine, which increases horsepower, improves fuel economy, and boosts to your throttle response. Simply put, a properly-installed intake makes your vehicle run at its best.
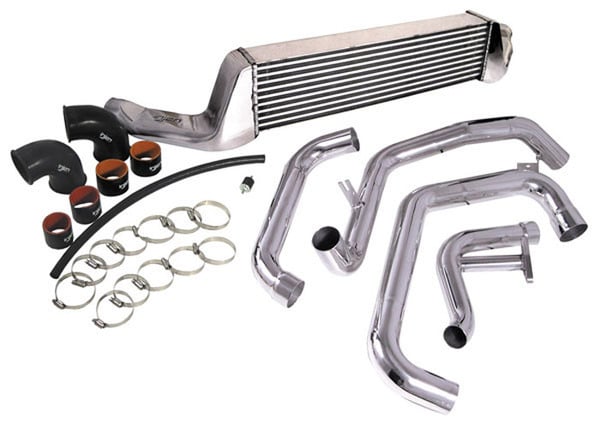
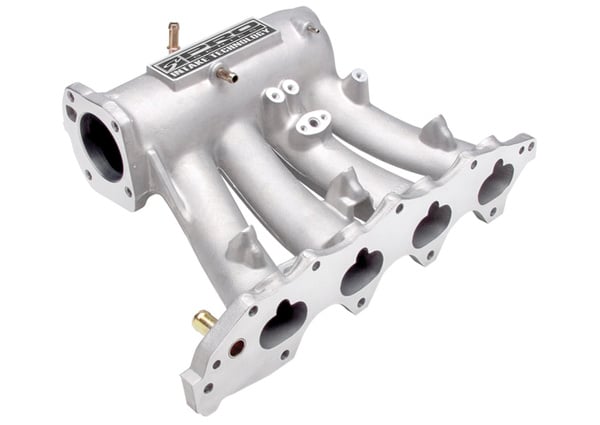
Other design strategies for a performance air intake include increasing the diameter of the intake for increased flow, smoothing the interior of the intake to reduce air resistance, tuning the length of the intake to work best at certain engine speeds, and using a more efficient, less restricting air filter. All of these methods are precisely engineered to supply maximum oxygen to get the most out of your engine. With the help of our Air Intake Reviews you can find the perfect system for your needs and budget.
When you shop at AutoAccessoriesGarage.com, you'll find that it's a breeze to get the perfect kit for your exact vehicle, whether you're shopping for a Mazda or an Audi Air Intake. Every one of our product offerings is presented with full color photography and in-depth product descriptions so you know exactly what you'll get. If you have any questions, we offer both detailed Research Guides and a helpful Customer Service team to guide you on your way. It doesn't have to be a hassle to shop for Air Intake Systems, not when you shop at AAG!